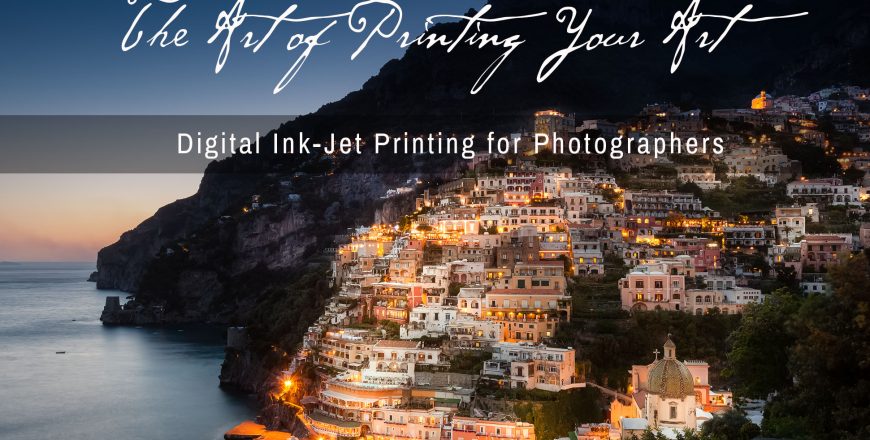
The Art of Printing Your Art
- Description
- Curriculum
- Reviews
The print is the ultimate expression of the photographer’s art.
It’s where technical decisions and artistic intent come together in something you can hold, frame, and live with. When you hand that step off to someone else, you also give up control over how your work is ultimately translated to paper.
The good news is that producing consistently good prints with modern inkjet printers is entirely achievable. It does, however, involve more than clicking “Print.” Like everything else in photography, printing is a balance of craft and art. Learning to produce a technically sound file is largely a matter of understanding colour management and workflow. Learning how to shape that file so the print communicates what you intended—that’s where the art comes in.
This course is designed to help you move past the common early frustrations of printing: prints that are too dark, colours that don’t match the screen, or images that simply don’t have the impact you expected. It’s aimed at photographers and visual artists rather than engineers (though engineers are welcome). We stay practical and focused, concentrating on the essentials you need to work with confidence and consistency.
What you’ll learn
The written material focuses on getting the technical foundation right, including:
colour management fundamentals
monitor calibration and profiling
printer and paper profiles
printer settings and media choices
soft proofing and preparing files for print
Alongside this, you’ll explore the creative side of printing through guided image discussions. Each week, you’ll be invited to post up to three images, which become starting points for questions such as:
How can the viewer’s eye be guided more effectively through the print?
Which elements might be emphasized or softened to strengthen the composition?
How can subtle tonal or colour adjustments shift mood and visual impact?
Many photographers are surprised by how much difference a few thoughtful, intentional adjustments in Adobe Lightroom or Photoshop can make once an image is translated to paper. Understanding how the human visual system responds to contrast, colour, and detail allows you to make simple changes that immediately strengthen how a photograph reads in print.
Course requirements
To get the most from this course, you should:
be comfortable with basic RAW processing and image adjustments in Lightroom or Photoshop
own, and be familiar with, a printer suitable for fine-art printing (for example, Epson P600/P800, Canon imagePROGRAF PRO series, or similar)
own, or be prepared to purchase, a monitor calibration device such as those from Calibrite or Datacolor
If you’re ready to stop guessing why your prints don’t quite match your screen—and start producing prints that genuinely reflect your intent—this course provides a clear, practical path forward.
-
1Lesson 1 - Everything You Do Before You PrintPDF lesson
In this first lesson of The Art of Printing Your Art, we slow down and ask a simple question: why bother printing at all? Instead of letting your images vanish into hard drives and phone screens, we look at how holding a real print changes the way you see, judge, and grow your work as a photographer. From there, we walk through what you actually need to get started—an appropriate photo printer, sensible paper choices, and (non-negotiable!) a properly calibrated and profiled monitor—without drowning you in engineering jargon.
You’ll also get a friendly introduction to the “invisible” technical stuff that quietly makes or breaks a great print: dynamic range, how camera sensors and paper are more limited than your eyes, why colour is more about your eye–brain system than reality, and what a “colour space” really is (think: how big your crayon box is). We connect these ideas to practical decisions: shooting RAW vs JPEG, choosing bit depth and file types, and understanding why overexposure is the cardinal sin for printable files.
By the end of this lesson, you’ll understand why prints matter, what basic tools and settings you need in place, and how all the decisions you make before you hit the Print button set you up for success. You’ll be ready to move forward with a solid foundation—confident that you’re building prints on both strong artistic intent and sound technical craft.
-
2Lesson 2 - Colour Management in Photoshop and LightroomPDF lesson
In this second lesson of The Art of Printing Your Art, we dig into the quiet hero of great prints: colour management. You’ll see how your camera, monitor, and printer each have their own “colour personality,” and how colour spaces and ICC profiles act as translators so that what you see on your screen has a fighting chance of matching what comes out of your printer.
We’ll unpack the alphabet soup—sRGB, Adobe RGB (1998), ProPhotoRGB—and explain, in plain language, why a large space like ProPhotoRGB (paired with 16-bit files) gives you the best chance of keeping all the rich colour your camera captured. From there, you’ll walk through setting up Photoshop’s Colour Settings, choosing rendering intents, and telling Lightroom and Photoshop how to hand files back and forth without breaking your carefully managed colour. You’ll also learn how to install and choose printer/paper ICC profiles and how to turn off printer-managed colour so you don’t double-profile your prints by accident.
By the end of this lesson, you’ll be able to:
Choose an appropriate editing colour space for high-quality prints
Understand how ICC profiles describe your camera, monitor, and printer
Configure Photoshop and Lightroom for a fully colour-managed workflow
Install and select output profiles for specific printer/paper combinations
Create reusable Lightroom print presets that lock in the right settings
In short, you’ll move from guessing about colour to working in a controlled, repeatable system—so your prints look the way you intended, not the way your printer guessed.
-
3Optional: Upload Image for DiscussionAssignment
-
4Lesson 3 - Sharpening, Noise Reduction and Sizing for OutputPDF lesson
In this third lesson of The Art of Printing Your Art, we move from “why print” and “how to manage colour” into the nuts and bolts of getting a crisp, clean file that’s sized perfectly for the print you have in mind. We unpack what sharpening actually does (and what it absolutely can’t do), why every digital image needs sharpening, and how a smart, multi-stage approach—capture sharpening, optional creative sharpening, and final output sharpening—gives you consistently better results than any one-size-fits-all preset. You’ll also see how different kinds of images (fine-detail landscapes, portraits, and the “everything else” in between) call for different sharpening strategies, especially in Lightroom’s Detail panel.
From there, we bring noise reduction and sizing into the picture. You’ll learn how sharpening and noise reduction pull in opposite directions, how to use Lightroom/Camera Raw’s controls without turning your files into plastic mush, and when AI-based denoising makes sense. Then we tackle sizing for output: how many pixels you really need for different print sizes, what “ppi” means in practice, and how to let Lightroom (or Photoshop, if you prefer) resample your files intelligently for Epson or Canon printers—right down to when 720/600 ppi “finest detail” modes are worth using.
By the end of this lesson, you’ll be able to:
Choose appropriate capture sharpening settings for different image types
Use simple presets to apply consistent sharpening and noise reduction
Decide how far you can safely upsize a file for a given print size
Set the correct output size and ppi for your target printer and paper
Apply output sharpening tailored to the image and the printing medium
In short, you’ll move from “I hope this prints sharp enough” to confidently preparing files that hold up beautifully on paper, even at larger sizes.
-
5Lesson 4 - Soft ProofingPDF lesson
In this final lesson of The Art of Printing Your Art, we bring everything together with one of the most powerful—and most misunderstood—steps in the printing workflow: soft proofing. You’ll learn how to use soft proofing in Photoshop and Lightroom to preview how your image will really look on a specific printer and paper combination, before you spend time, ink, and expensive fine-art paper. We’ll talk about why your printer can’t reproduce everything you see on your monitor, how “Simulate Paper & Ink” works (a.k.a. the “Make-My-Image-Look-Terrible” button), and how to make smart, subtle adjustments so your proofed file matches your carefully edited master as closely as the medium allows.
From there, we zoom out and walk through a clear, repeatable printing workflow in both Photoshop and Lightroom—from RAW file to finished print. You’ll see how consistent habits (like always printing from a controlled environment, using the right profiles, and saving soft-proofed versions or Saved Prints) help you avoid classic mistakes such as double-profiling or forgetting key print settings. We’ll also touch on realistic expectations for screen-to-print match, practical lighting for judging prints at home, and why consistency in your workspace matters just as much as consistency in your workflow.
By the end of this lesson, you’ll be able to:
Use soft proofing in Photoshop and Lightroom to predict how your image will print on a chosen paper/printer
Create and refine proof copies with targeted contrast and saturation tweaks for specific papers
Set up a practical print-viewing environment so you can judge colour and tone accurately
Build and follow a step-by-step workflow for printing from both Photoshop and Lightroom
Save reusable print setups (e.g., Saved Prints in Lightroom) so you can easily reprint your favourite images with consistent results
It’s a fitting conclusion to the course: moving from “hoping it prints well” to having a reliable, intentional process for crafting prints you’ll be proud to hold in your hands.
-
6Optional: Upload Images for DiscussionAssignment

Recent Posts
Recent Comments
Archives
Categories
- No categories


